ID + Photo
Start here to confirm the South African ID and review the Home Affairs photo where available.
Names, surname, date of birth, gender, citizenship, ID status, deceased status, marital status, and ID photo where available.
Use this step-by-step guide to verify employee details and documents in the VerifyNow dashboard. It explains when to use KYC Bundle for a quick check, when to use Consumer Trace for a more thorough employee-detail check, and how to review the result without treating trace data as a guaranteed employment reference.
Consumer Trace must only be used for permitted fraud detection or fraud prevention workflows. Employment-related trace information may be unavailable or historical, so use it as supporting evidence and escalate mismatches for manual review.
This help page is a dashboard workflow. For service-level details, use the linked service pages below.
Start here to confirm the South African ID and review the Home Affairs photo where available.
Use this for the more thorough check when you need address, contact, and employment-related trace information for a permitted fraud-prevention workflow.
Use this for a quick, compact onboarding check when ID photo verification plus basic identity context is enough.
The dashboard Employee tab groups the employee workflow checks together: ID + Photo, Consumer Trace, and the quick KYC Bundle option. These screenshots show the same cards in the existing Identity and Background filters.

Use the Employee tab to see these employee checks together. In the existing category filters, ID + Photo and KYC Bundle also appear under Identity.
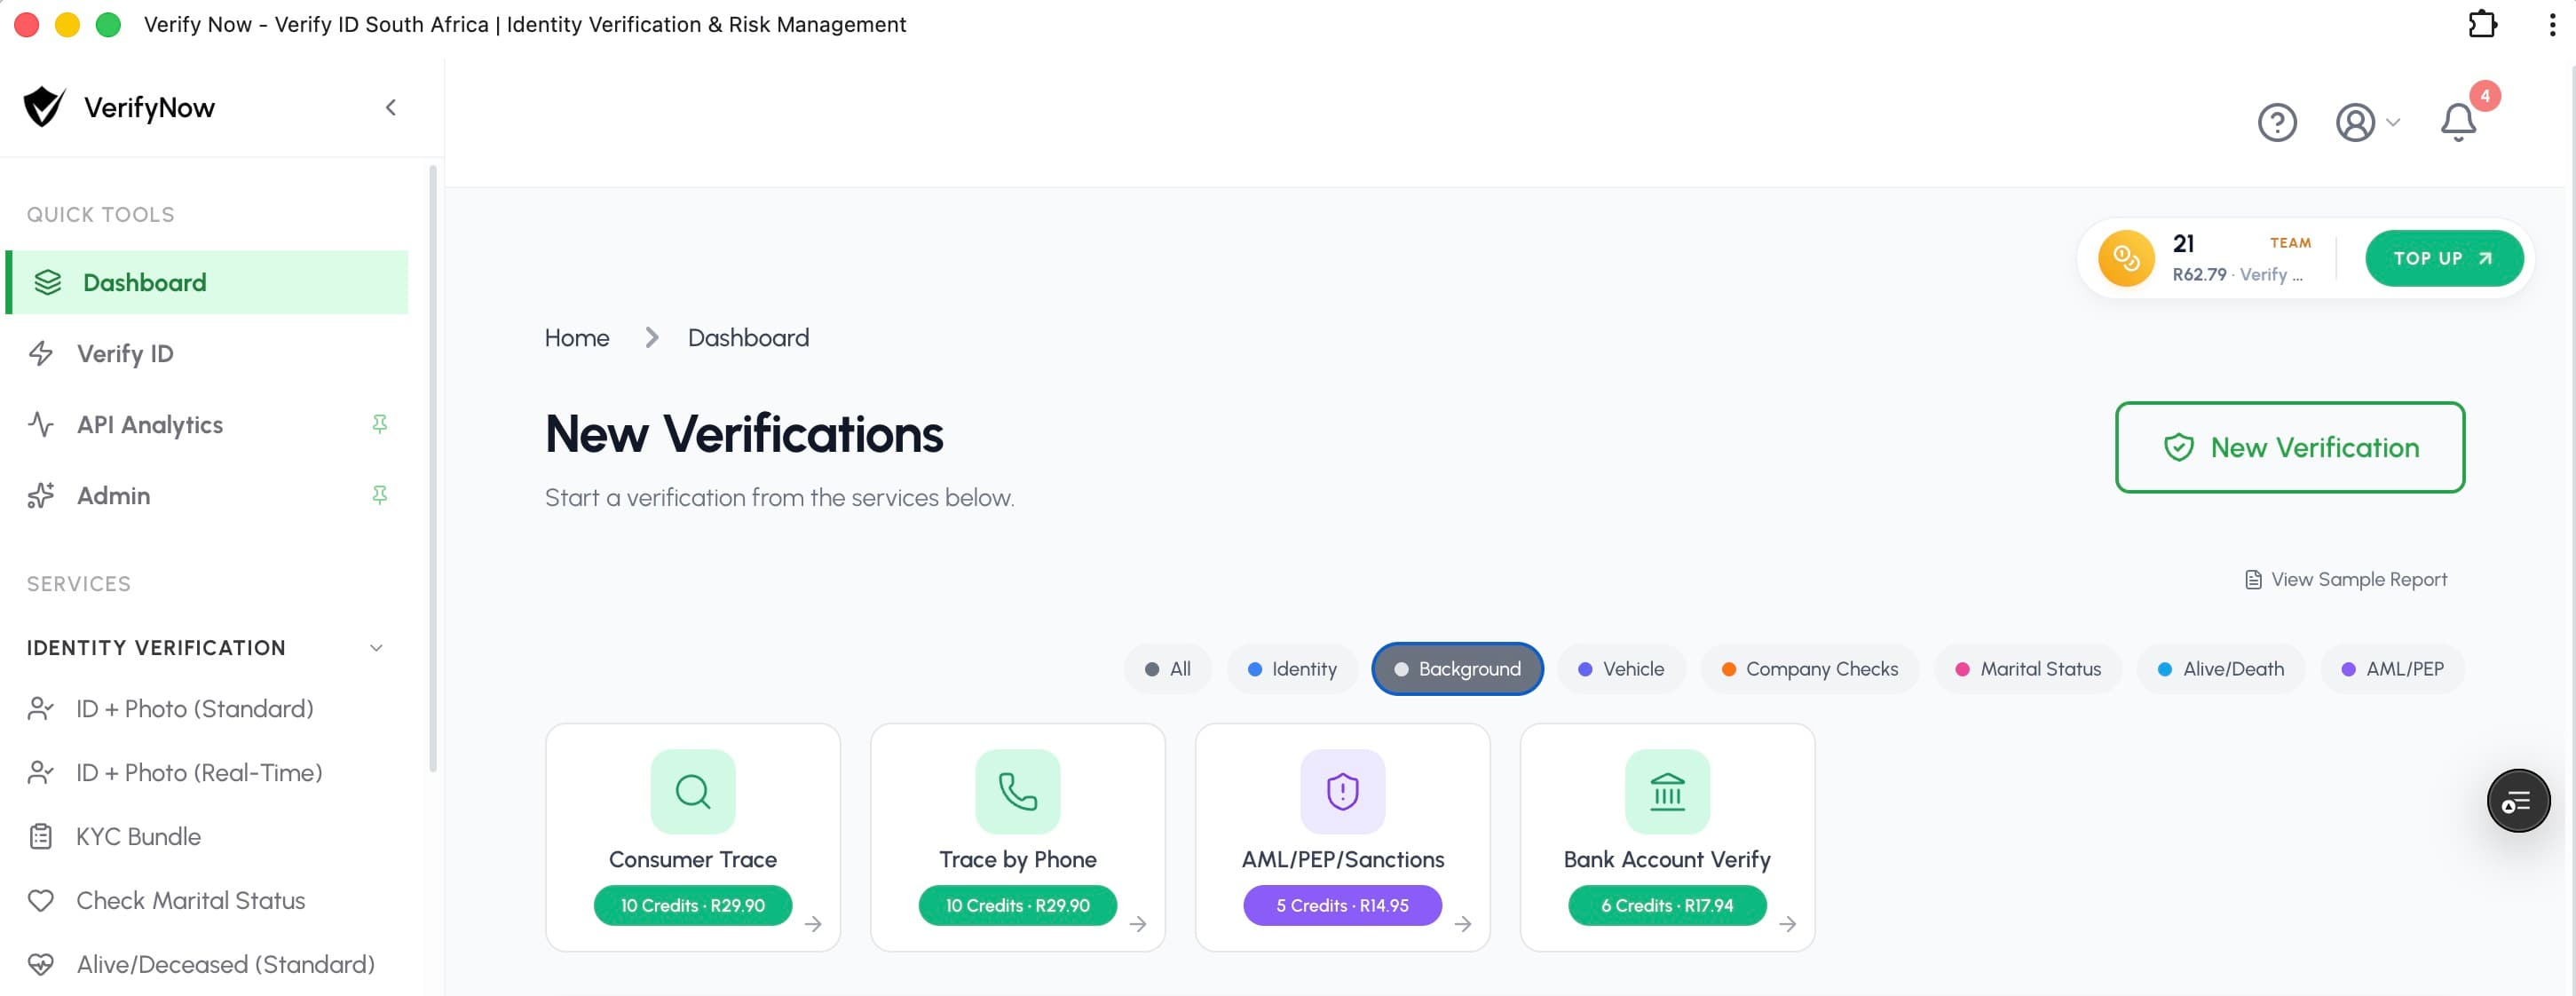
Run Consumer Trace after ID + Photo when you need the more thorough address, contact, and employment-related trace output.
Follow these steps when you need a clear employee-screening record for an internal review file.
Before running employee checks, record the business reason and POPIA lawful basis. For fraud-prevention checks, separate consent is not required where you rely on a valid lawful basis. See the Protection of Personal Information Act.
Have the employee name, South African ID number, role, contact details, and supplied documents ready before opening the dashboard.
Open ID + Photo from the VerifyNow dashboard, enter the ID number, and submit the check. Review the returned identity fields and photo where available.
Check the returned name, surname, date of birth, ID status, deceased status, and photo against the employee document or onboarding record.
Use Consumer Trace when a quick KYC Bundle is not enough and you need address, contact, and employment-related trace information where available. Treat this as supporting evidence, not as a direct employer reference.
Use KYC Bundle when you want a quick dashboard result with ID photo verification and basic supporting identity context, and you do not need the fuller Consumer Trace output.
Save the report or transaction reference in the screening file. If names, photo, status, address, contact, or employer details do not align, escalate the case for manual review.
A passed identity check does not remove the need for HR judgment. Review the report fields against the employee file and keep a note of what matched, what did not match, and who approved the next step.
| Result area | Review action |
|---|---|
| Identity fields | Compare names, surname, date of birth, and ID status to the employee document. |
| ID photo | Compare the returned photo to the employee file or capture. Escalate unclear matches. |
| Address and contact data | Use as supporting trace context. Confirm important changes directly with the employee. |
| Employer detail | Treat as trace evidence where available, not a guaranteed current employer confirmation. |